

-
Set SAML_DATABASE_URL to a Postgres database. Please use a different database than the main Cal instance since the migrations are separate for this database. For example
postgresql://postgres:@localhost:5450/cal-saml. If you are using a self-signed certificate for Postgres then use thesslmode=no-verifyquery param in the database URL. For examplepostgresql://postgres:@localhost:5450/cal-saml?sslmode=no-verify. - Set SAML_ADMINS to a comma separated list of admin emails who can configure the OIDC.
-
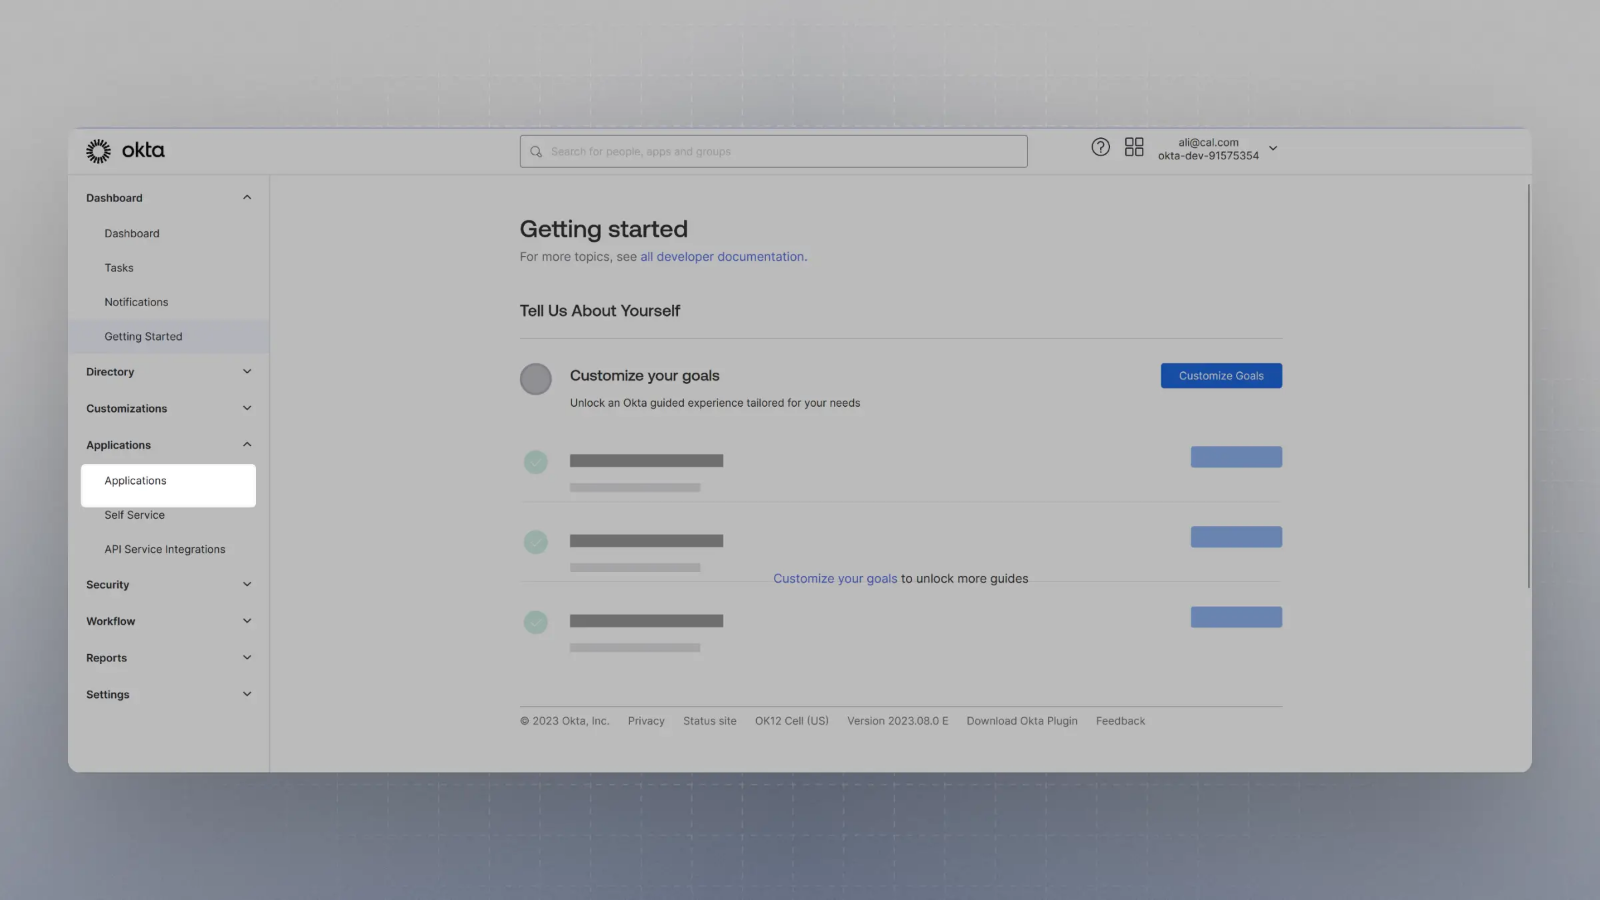
Create an application with your OIDC provider. For example, in Okta, once you create an account, you can click on Applications on the sidebar menu:
-
Click on
Create App Integration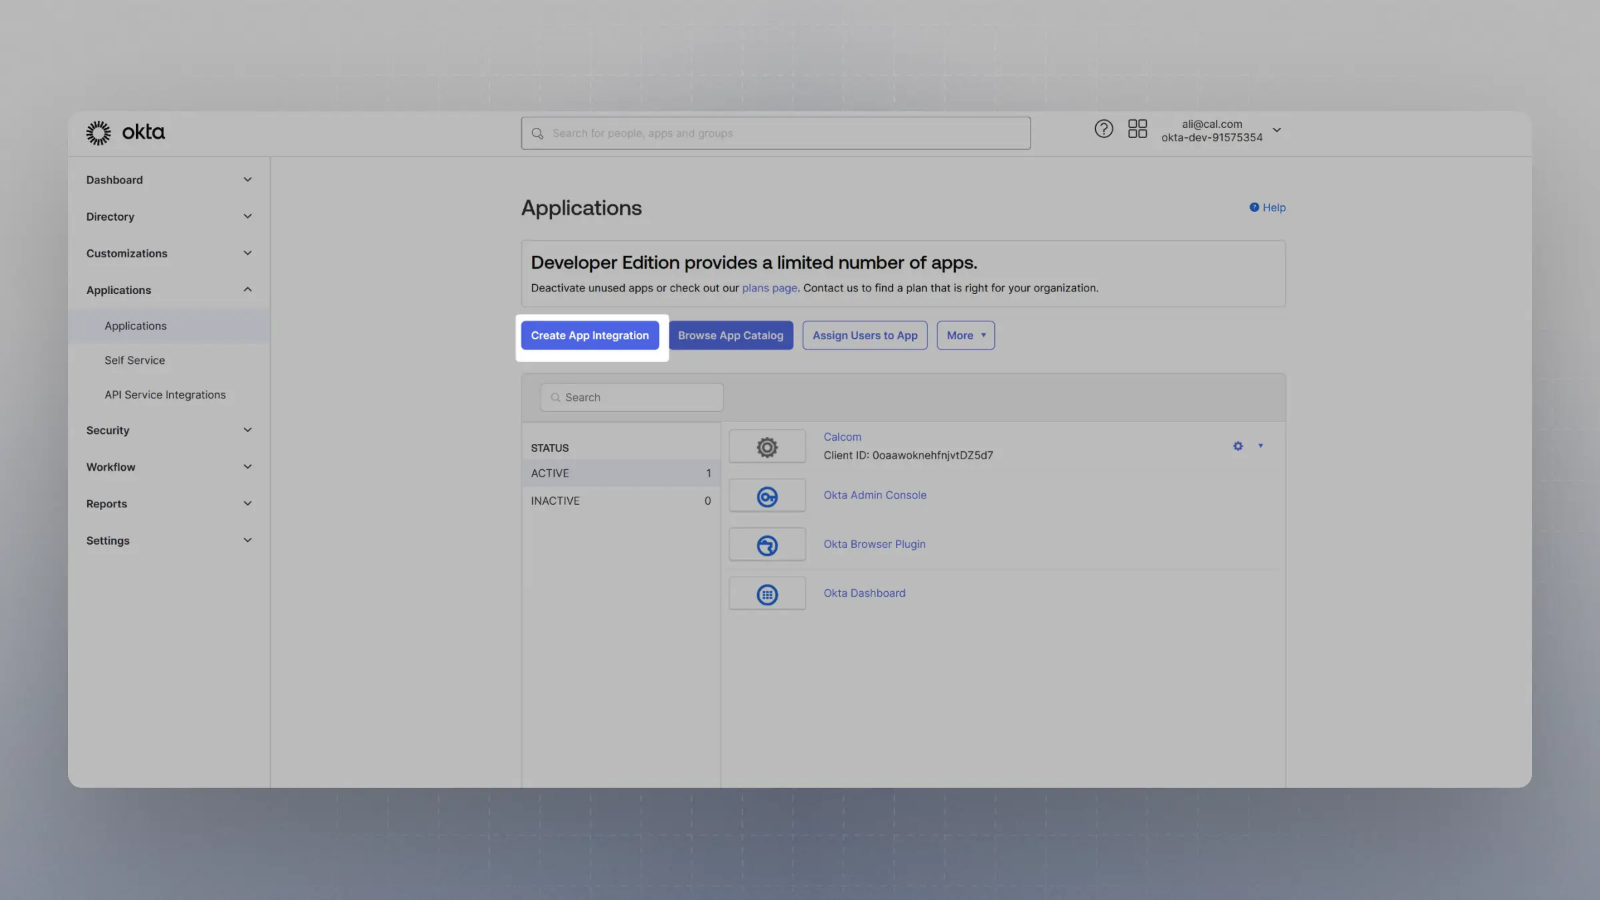
-
Select OIDC in the modal form, along with Web App and click Next.

-
Enter the Sign in redirect URL (or auth URL) as
And the sign out URL aswhere is your app’s base URL, and click save.
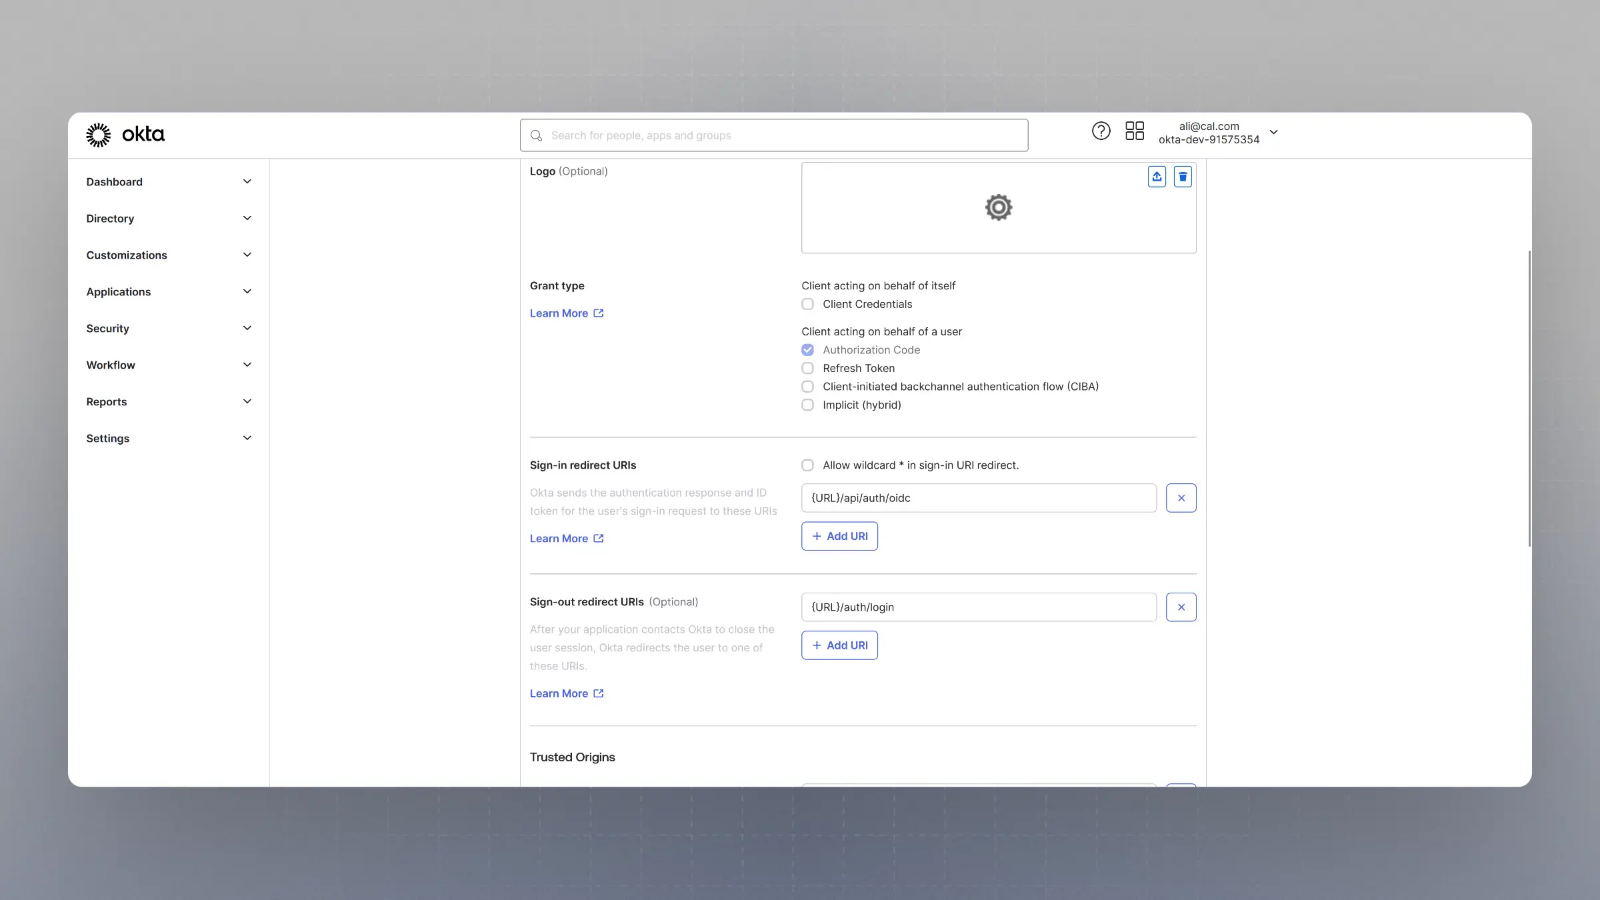 Please replace
{BASE_URL}here with respective URL, such aslocalhost:3000for localhost testing, for example. -
Now you should have the Client Secret and Client ID with you. You would also need the Well Known URL which for Okta is generally of the type:
So, if your okta domain is
dev-123456.okta.com, your well known URL would be - Now spin up cal.com on your server and login with the Admin user (the email ID of which was provided in step 2 for SAML_ADMINS environment variable).
-
Visit
{BASE_URL}/settings/security/ssoand you should see something like this: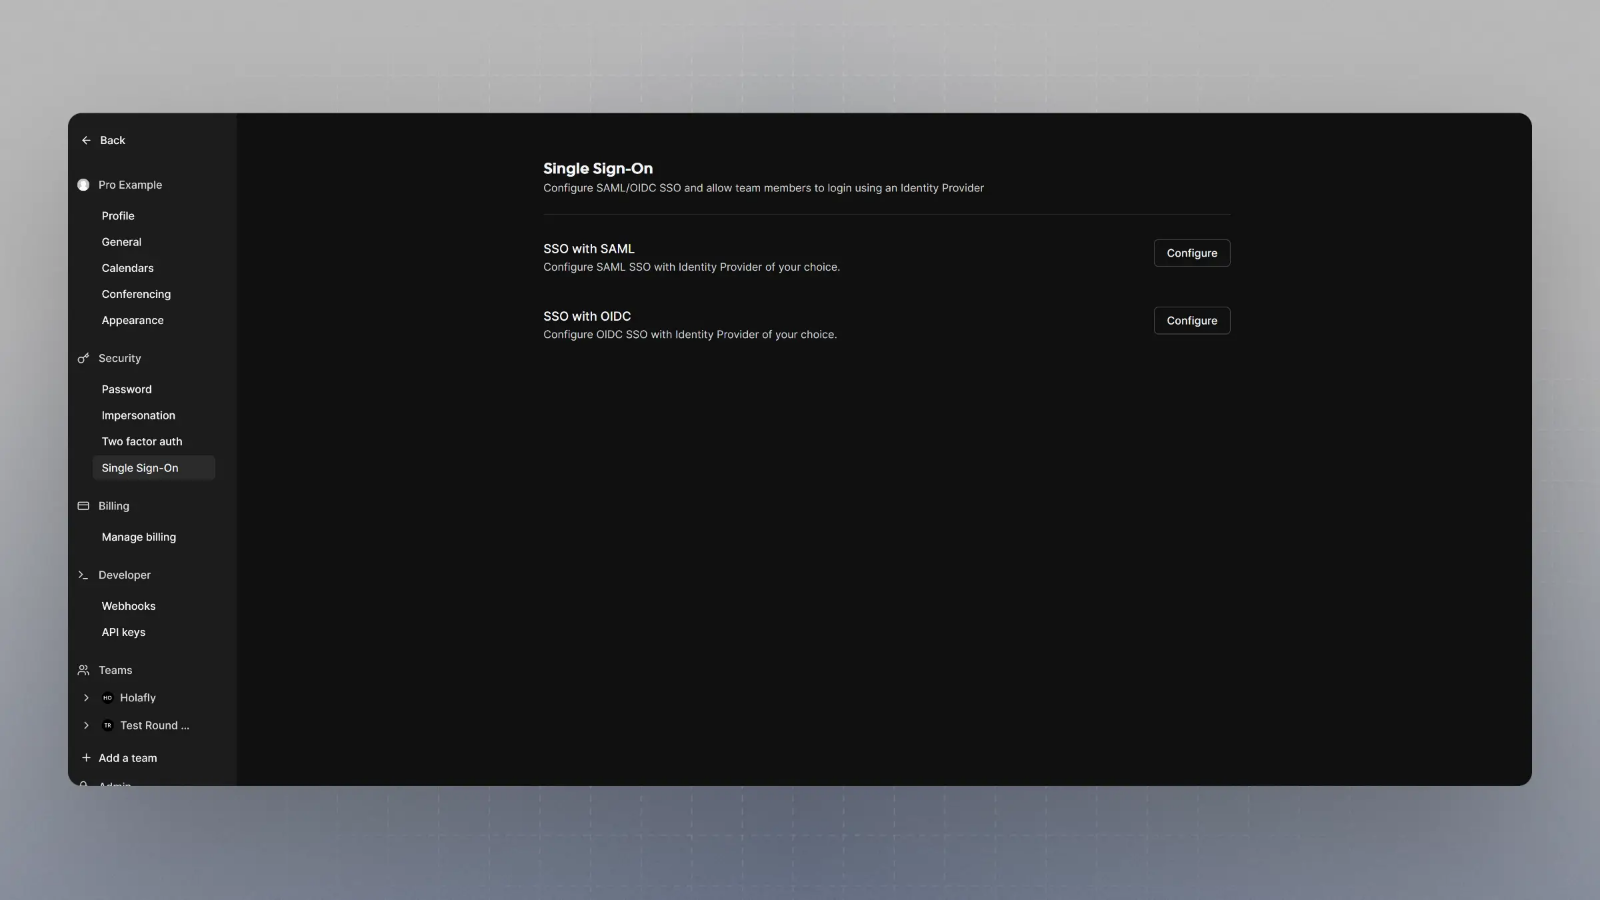
-
Click on Configure SSO with OIDC, and then enter the Client Secret, Client ID and Well known URL from the Step 7, and click save.

Auth and Provisioning