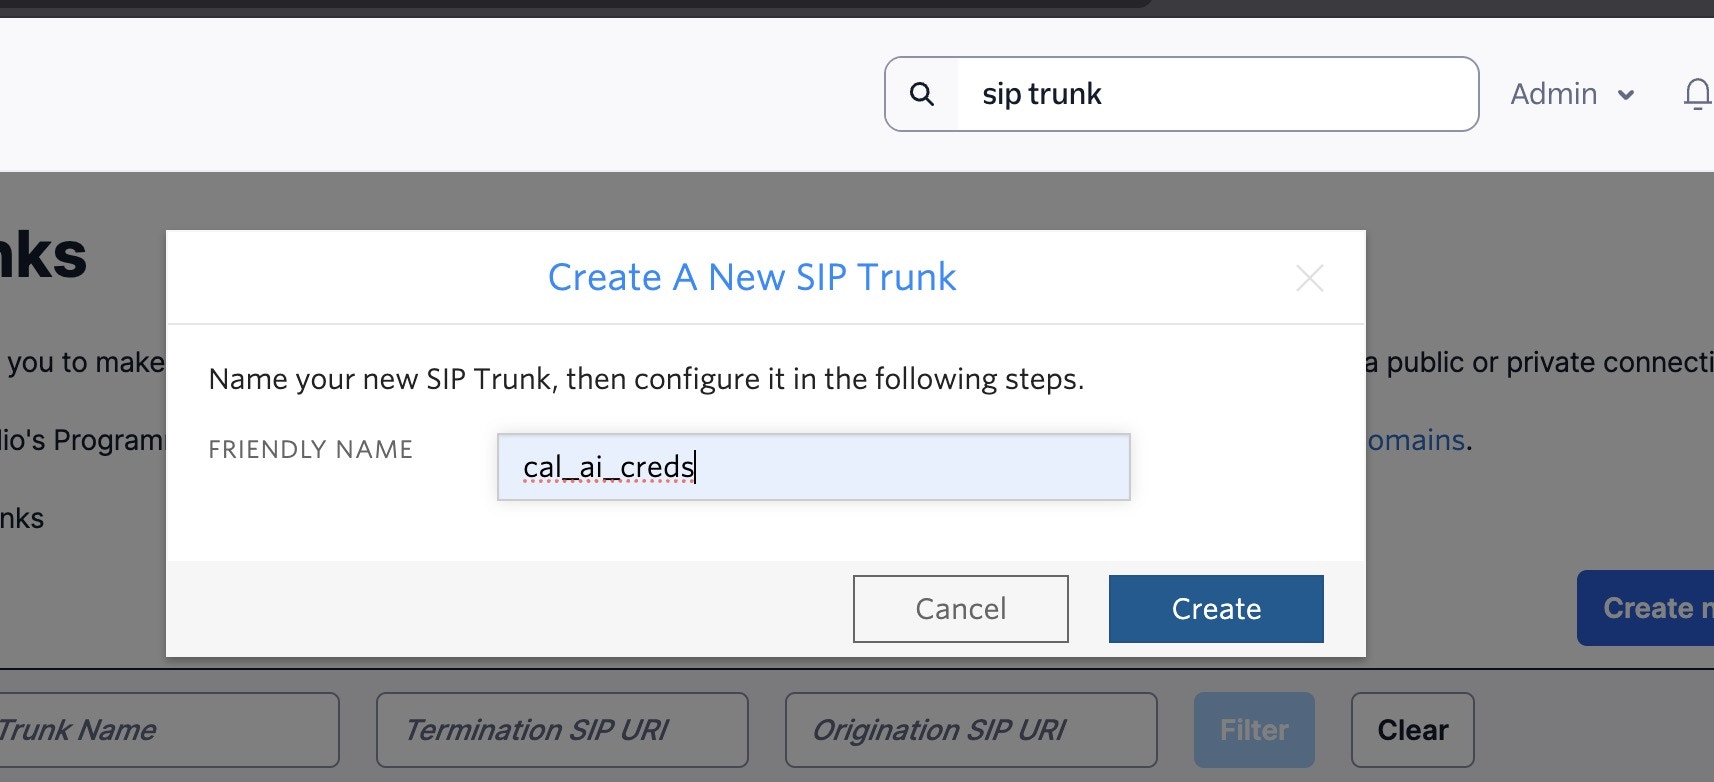
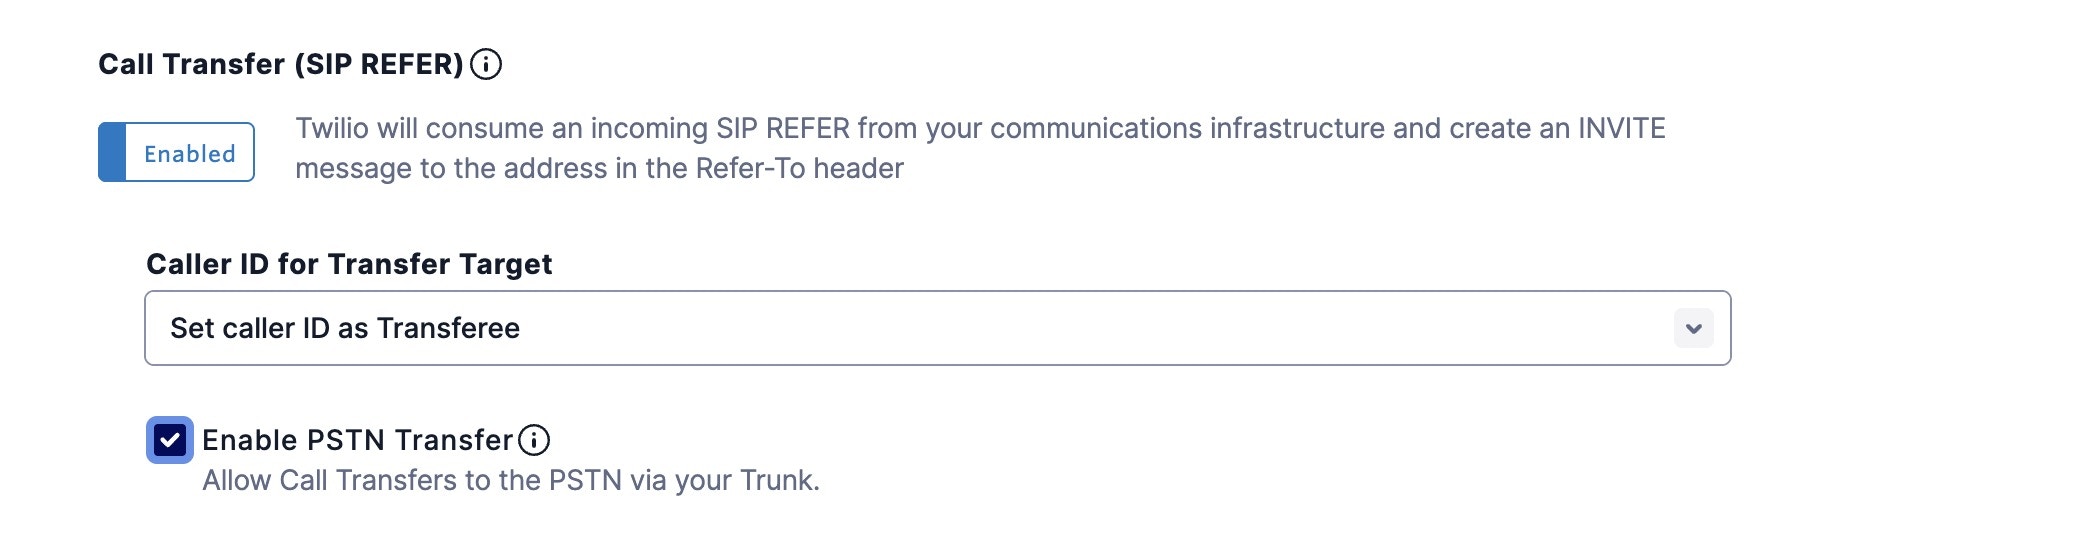
Create the trunk, give it a name, and toggle these settings and click Save
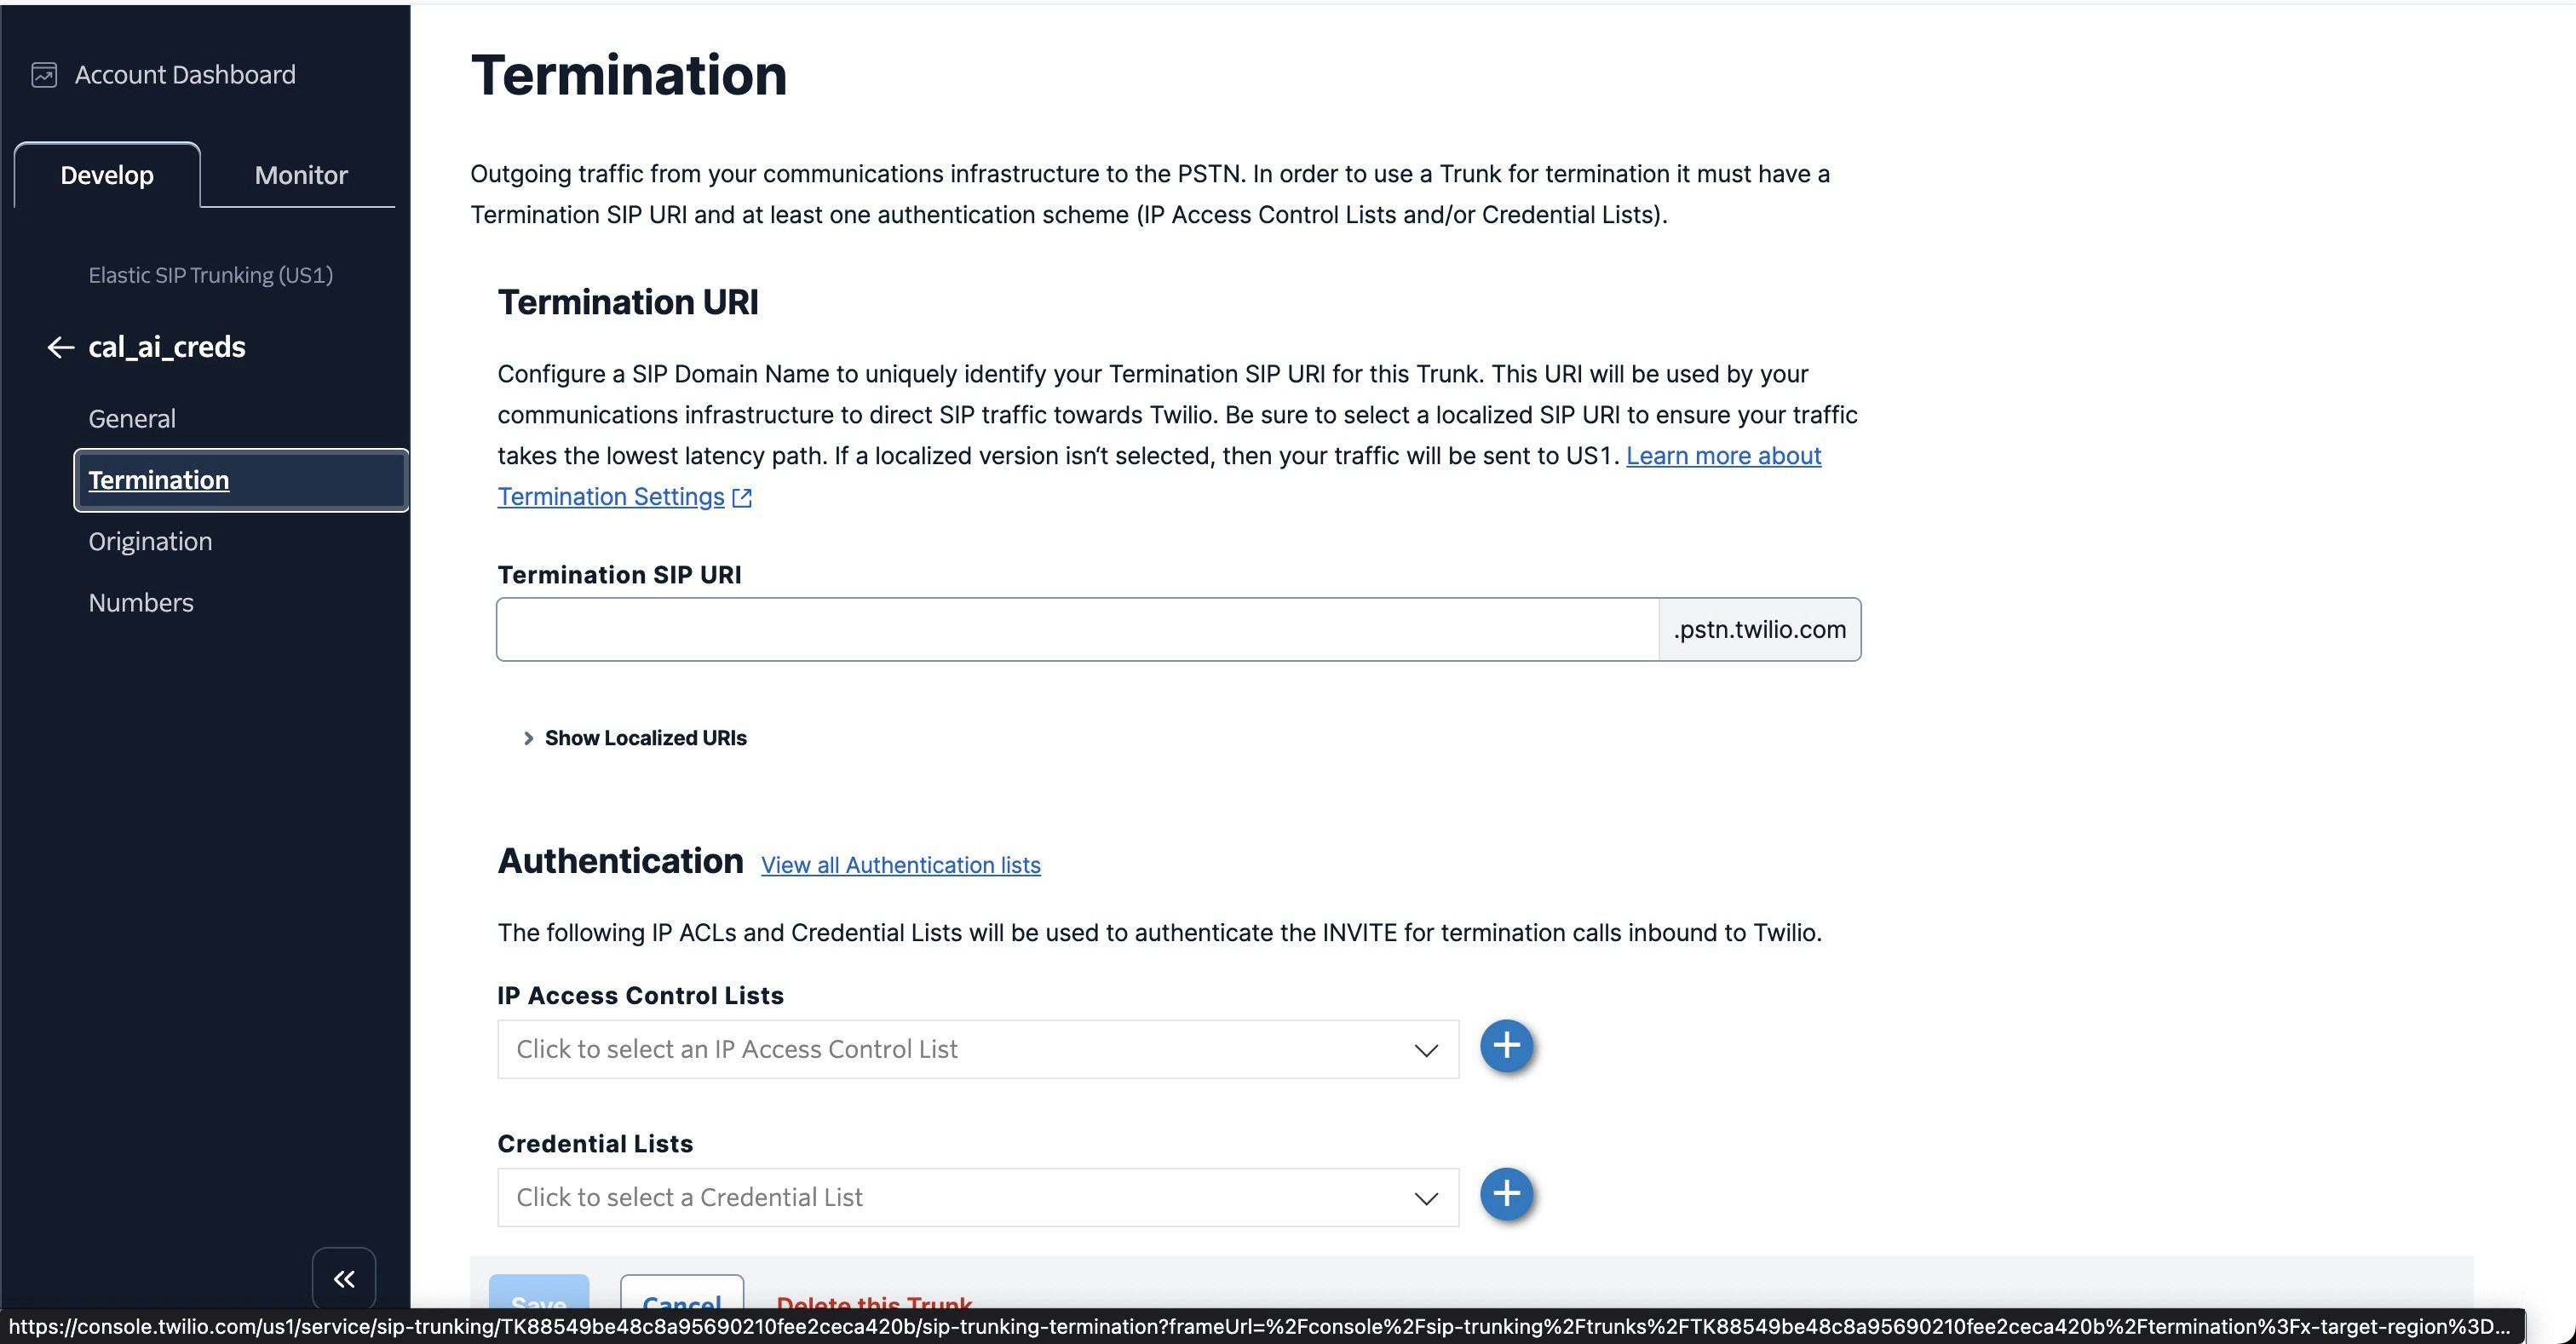
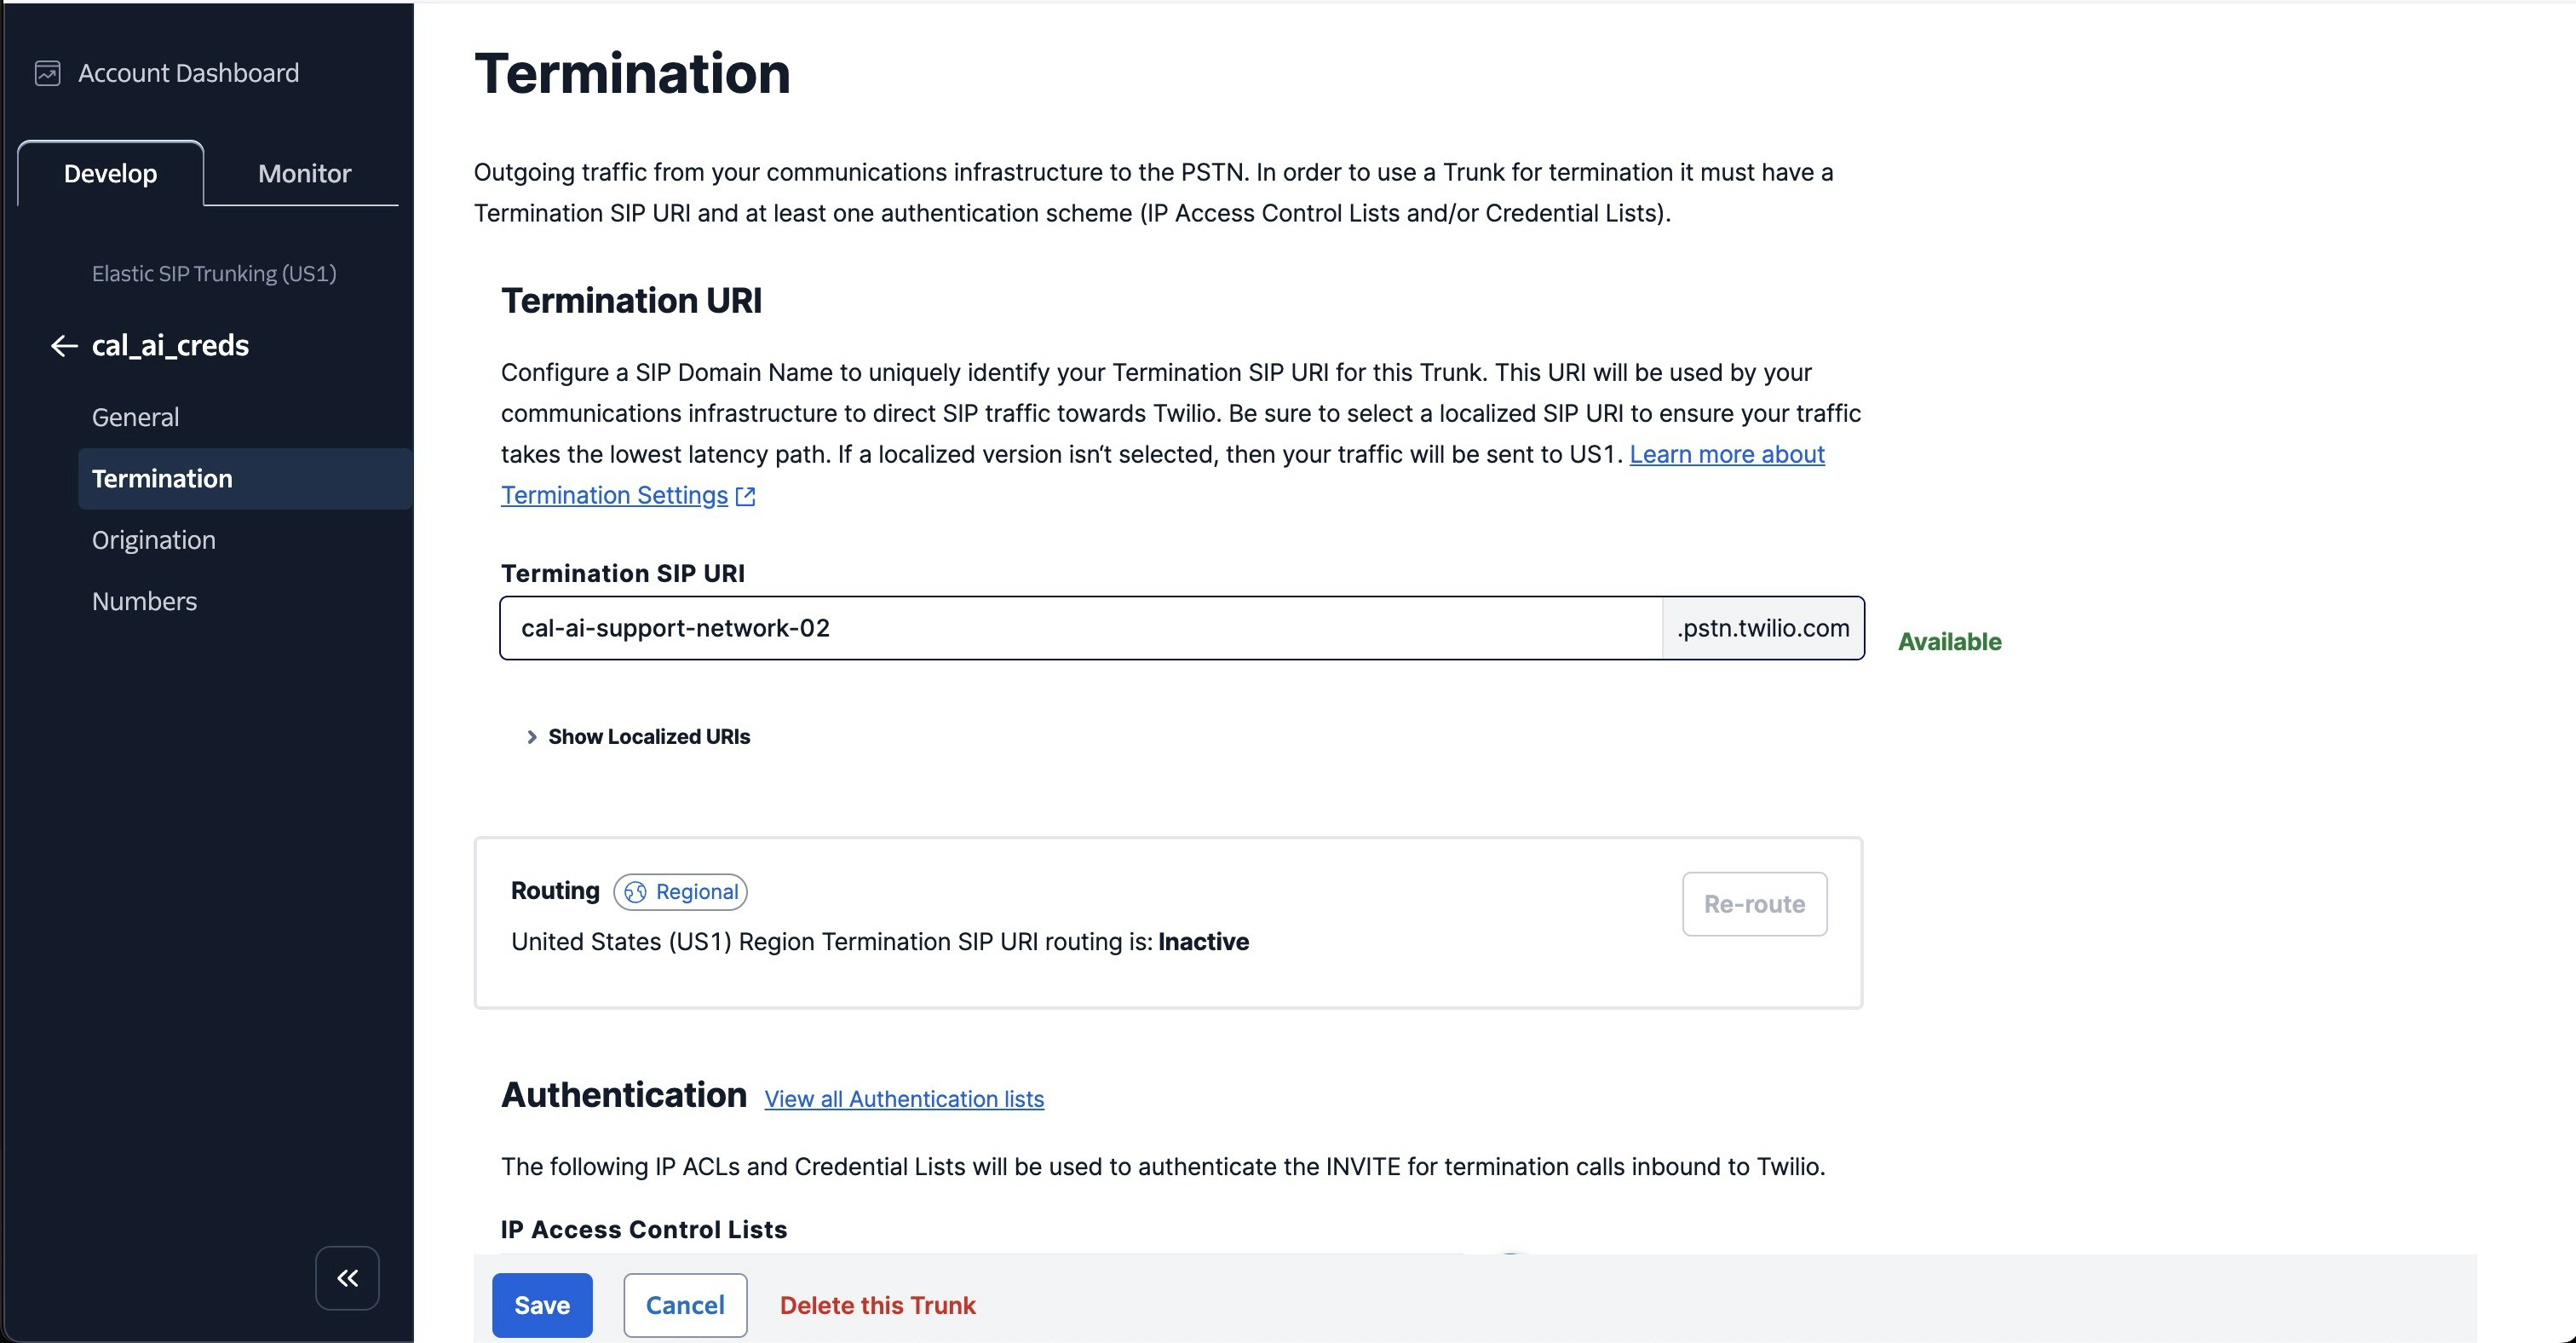
Setup termination (this is for outbound)
Click the Termination tab on the sidebar
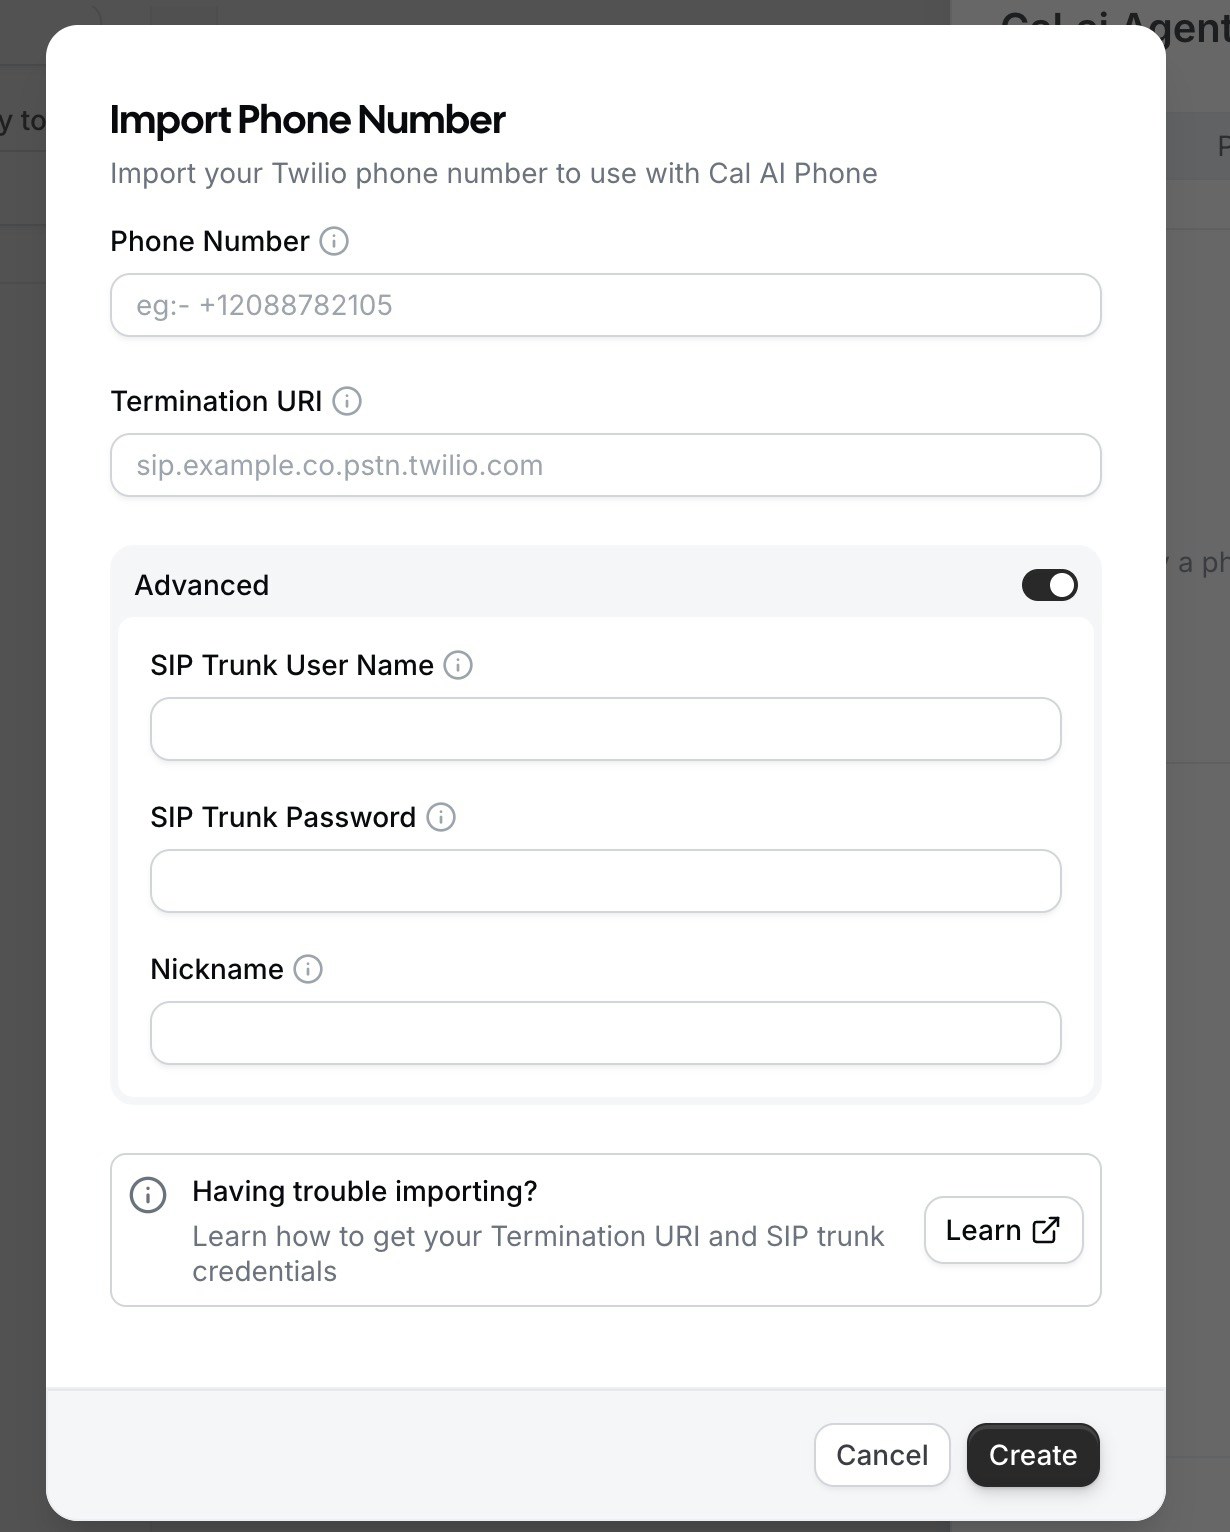
The termination SIP URI here is important, we would use it in later steps. You might want to use a localized termination uri that’s near your region. You can expand and view your localized uris in your provider’s console.
You can pick the uri something like cal-ai-support-network-02
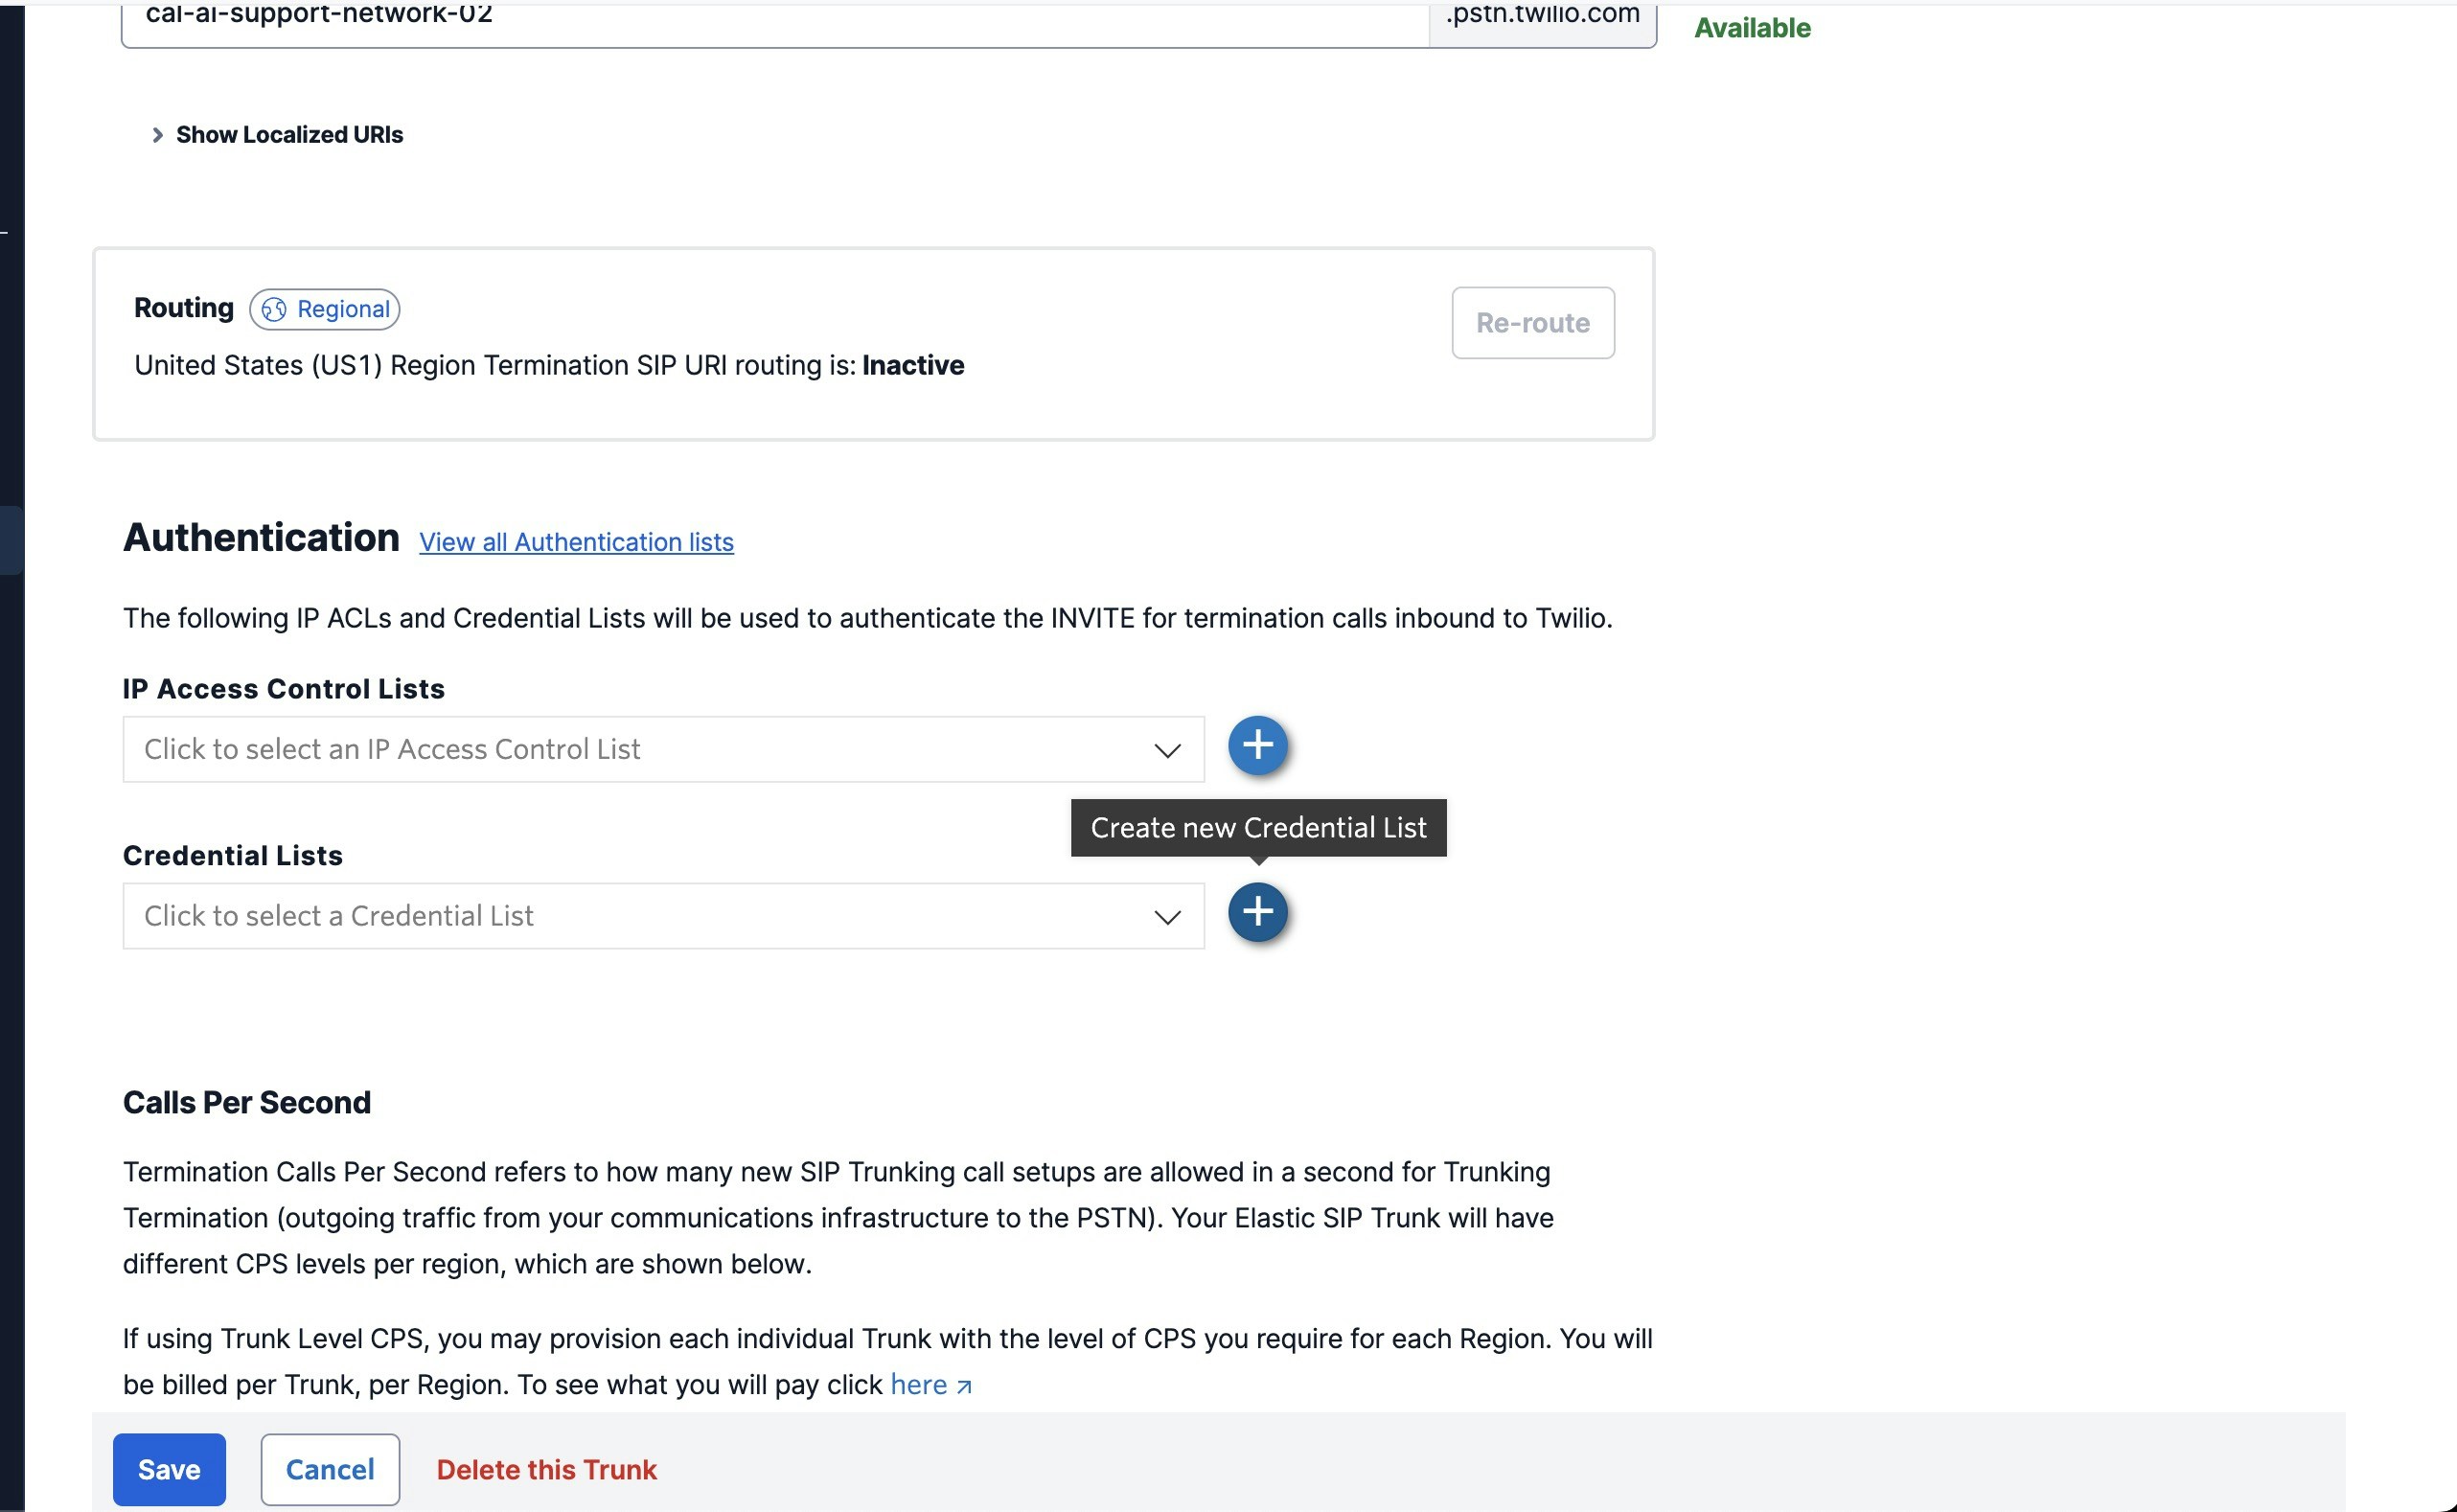
For your elastic SIP trunk to accept our outbound request, you need to create a auth with username and password.
Click on create new credentials list in Authentication section
Give it a friendly name and enter any username and password and we would need this username and password in the later steps and click save on the Termination page.
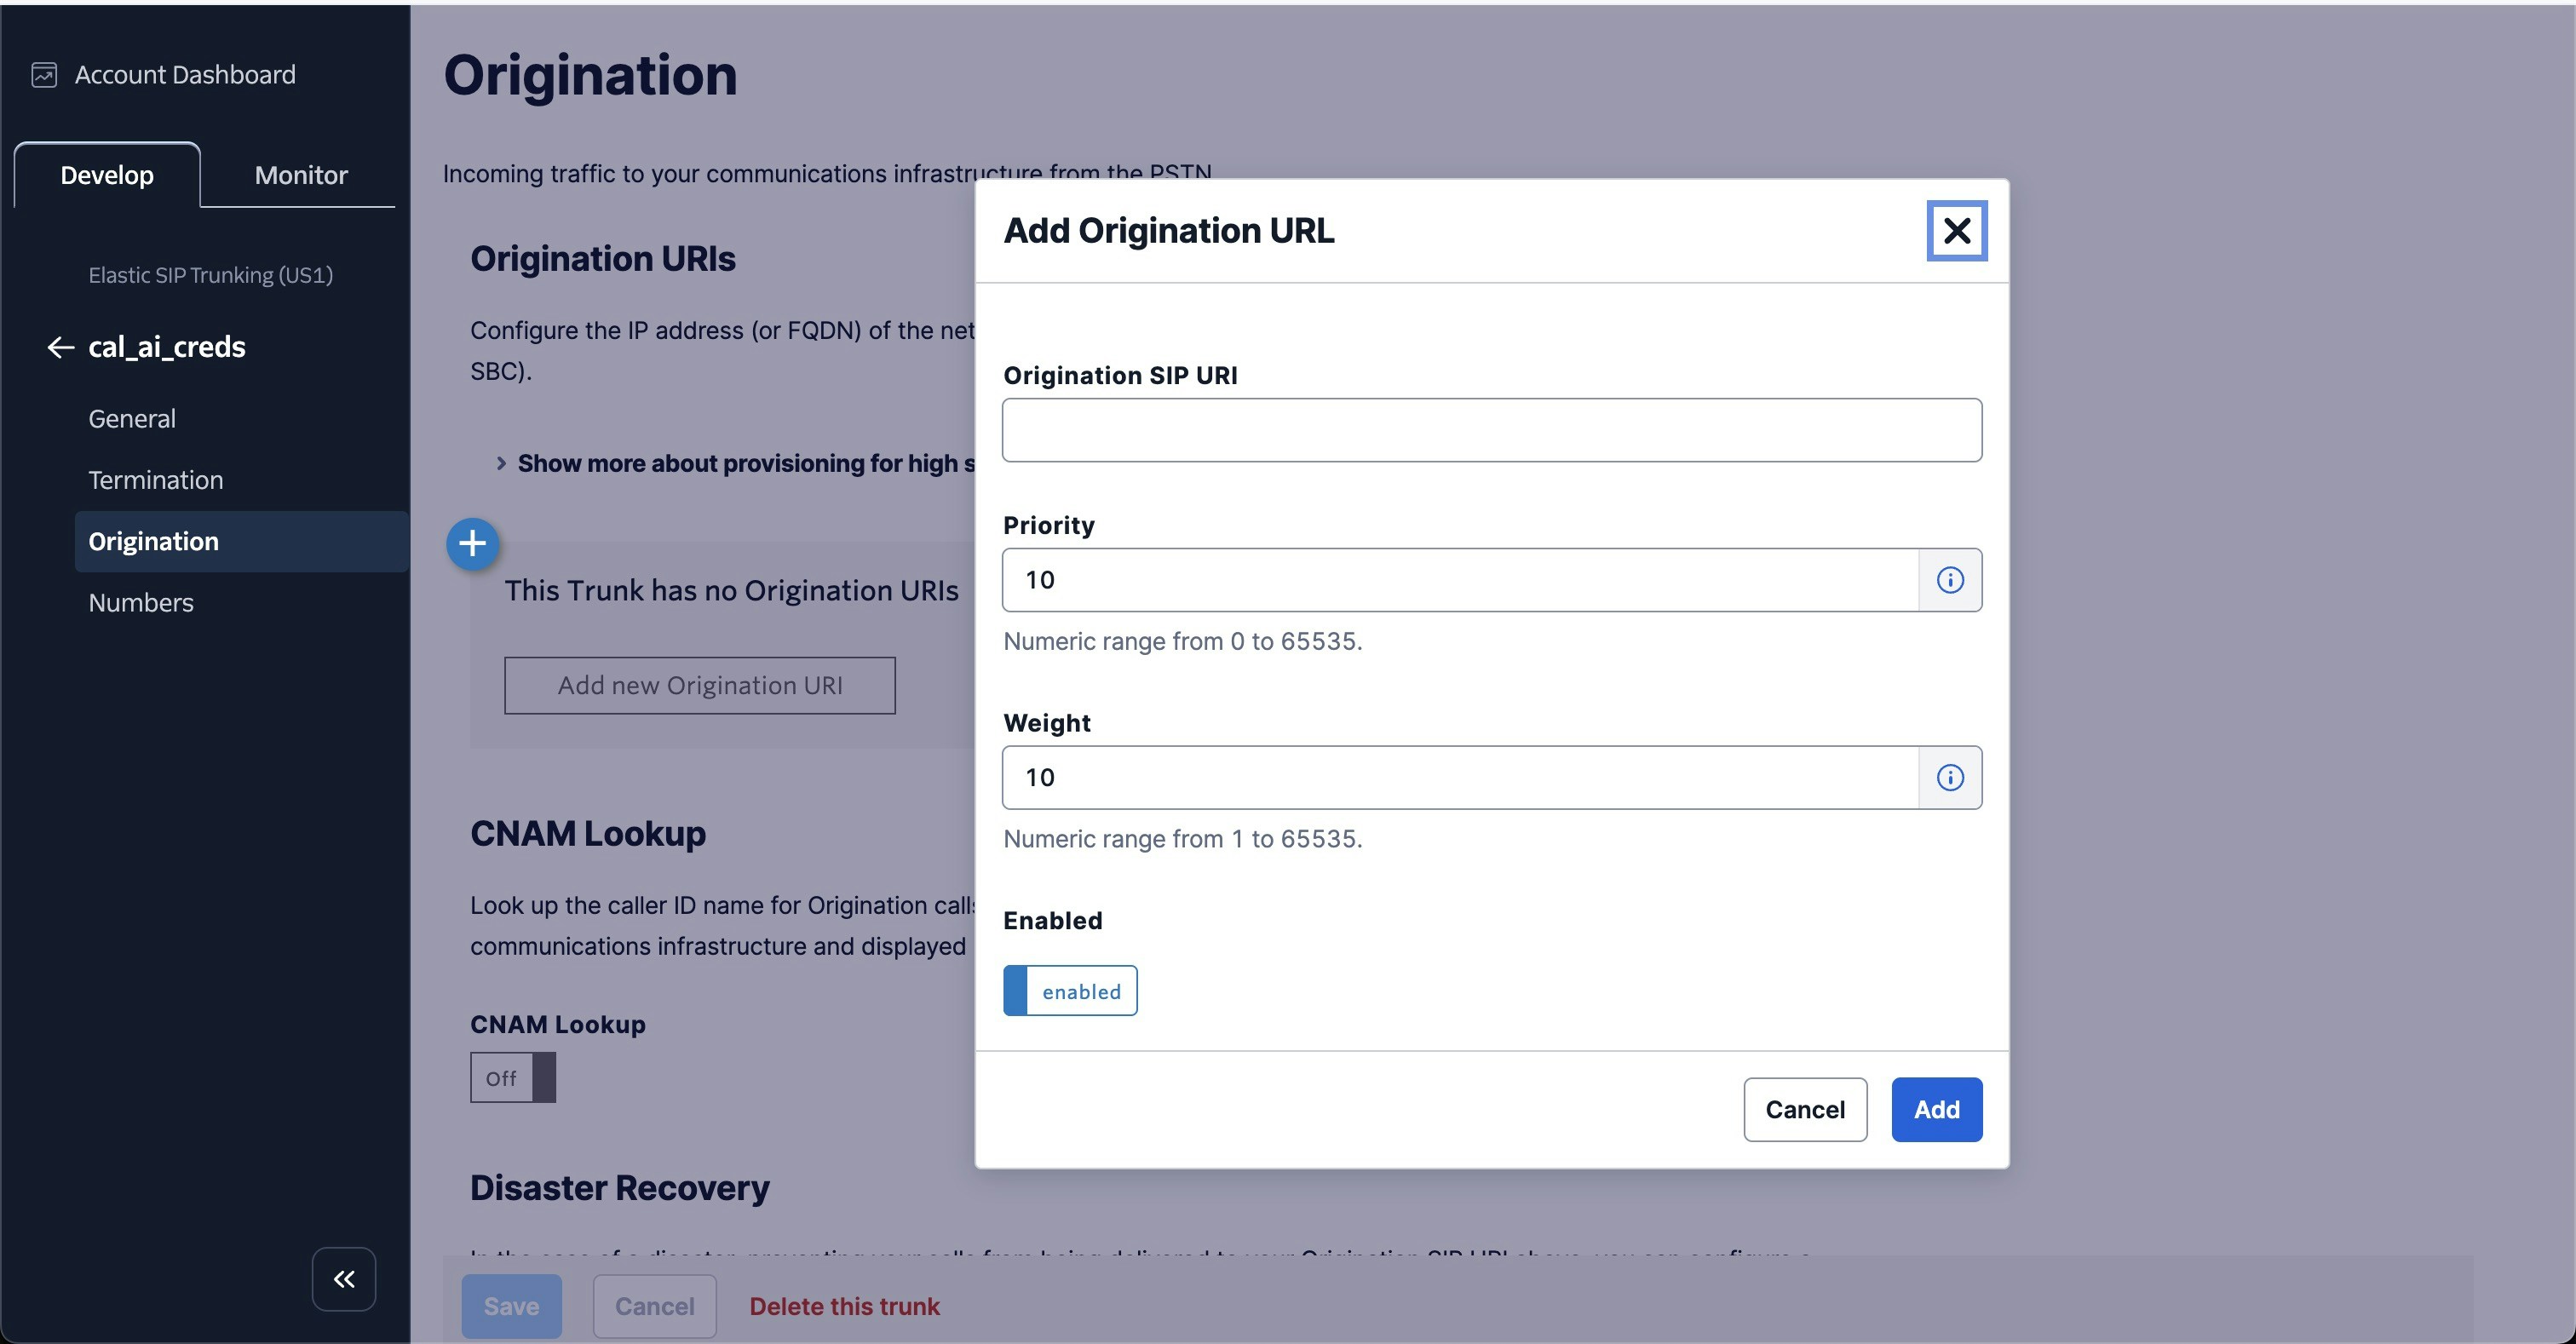
Setup origination (this is for inbound)
Click on Origination tab on the sidebar
Click on Add new Origination URI’s button
Here you will specify SIP server address as the origination SIP URI: sip:5t4n6j0wnrl.sip.livekit.cloud and click ‘Add’